10 Microphone Tips To Improve The Quality Of Audio In Your Videos
Audio is often the biggest challenge for filmmakers, especially newer ones. Most people just coming into the world of video don’t realize how much of a big deal it really is to get good quality audio. And while can be quite gear dependent, you don’t always need the most expensive kit to get decent quality sound. In this video, filmmakers Parker Walbeck and Nick Sales talk though their top ten tips and techniques for getting good quality sound for your videos.
1. CHOOSE YOUR LOCATION WISELY
Pick locations that don’t have a lot of background noise if you’re shooting dialogue. Outdoors, shooting on the side of a busy street or right next to a waterfall or crashing waves on the beach is going to produce a lot of noise and it will often be extremely difficult for your microphone to pick out the sound of your subject’s voice from the environment.
When shooting indoors, try to find somewhere with as little reverb as possible. Wooden floors and painted bare walls will reflect sound like crazy, resulting in a lot of echo. So, try to find carpeted locations with big material objects like couches and closed curtains. If you can’t find a location with reflection-breaking objects, you can always hang blankets by your subject to reduce reverb.
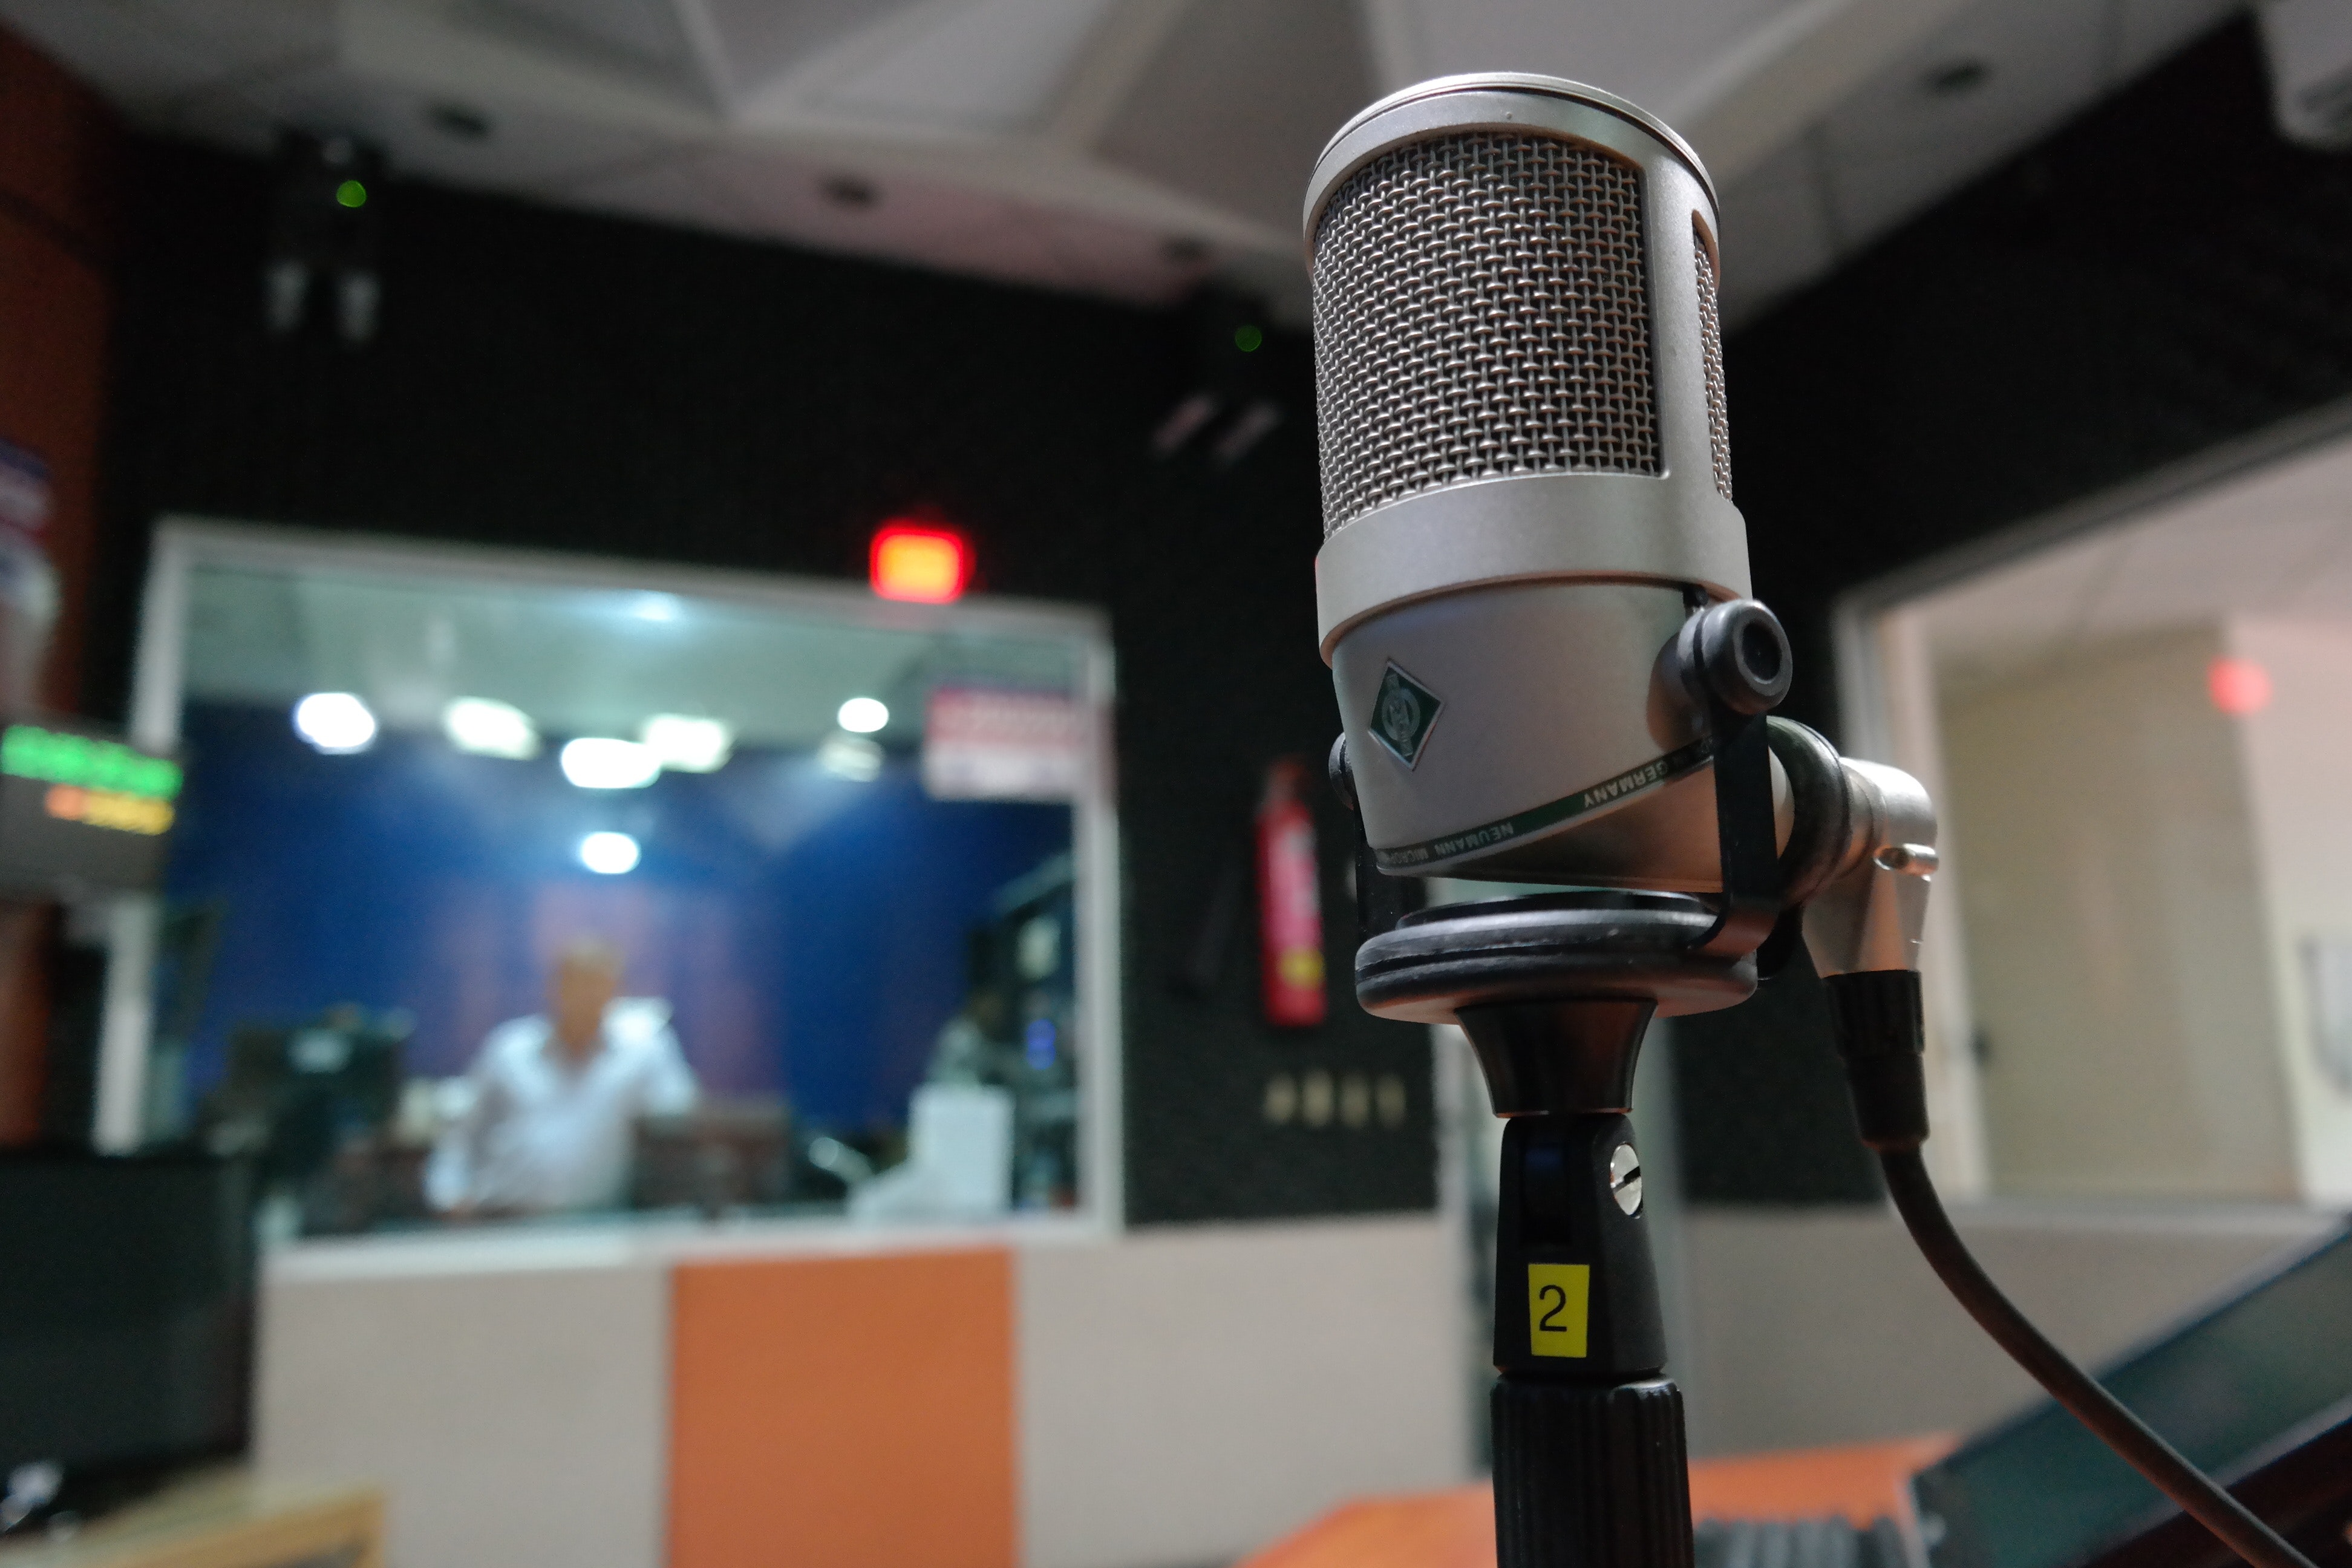
2. GET THE MIC AS CLOSE TO YOUR SUBJECT AS POSSIBLE
The closer your microphone is to your subject, the more clearly it’s going to pick them out against the noise of the environment. If the microphone is right up by your subject’s mouth, then you can have the record level set quite low and still pick up a good volume level from the subject. But, because your levels are low, it’s going to reduce that ambient noise.
It’s a bit like the audio equivalent of balancing flash with natural light. The closer you get it to the subject, the brighter it’ll be and the lower exposure you can use to darken the environment. But, especially if you’re using shotgun microphones, do be aware of the proximity effect.
3. LAV MIC PLACEMENT
Lav mics are omnidirectional. That means they pick up sound in all directions. Here is where proximity is very important. Ideally, you want to have them around six inches from your subject’s mouth. For interviews, vlogs or other YouTube videos, you can often just clip them to your shirt.
Having them visible in the shot isn’t always possible, as you will often need to hide them for more narrative pieces. So, taping them to the inside of a shirt can be a good way to hide them, although you’re not going get quite as good quality sound as you will with the mic out in the open. Do make sure to do a quick test recording first with your subject moving around to make sure there are no rustling noises.
4. GET CREATIVE WITH MIC PLACEMENT
Lav mics aren’t the only microphones for which you might need to get creative when it comes to placement. Sometimes, particularly in a wide shot or enclosed spaces, it might not be possible to boom a microphone overhead in close enough range to your subject.
Parker shows a great example of two people talking in a car, recorded with a shotgun microphone. Here, obviously, it’s not possible to boom a shotgun overhead, and lavs aren’t going to produce the best quality sound, so a shotgun mic is hidden from the camera’s view by the dash. Its position is controlled by a boom op hiding in the back of the vehicle.
5. TEST YOUR RECORDING LEVELS BEFORE FILMING
This one has caught me out a few times, especially on location with the Tascam DR100. I’ll accidentally knock the level dial while moving from one location to another or I’ll switch the mic out for another which might run hotter (louder) than the one I was just using, and then forget to check the levels for the next clip, causing it to blow out and creating a lot of clipping distortion.
So, whenever you set up to record, do a recording test first to make sure that you’re not clipping the levels of the microphone, and also that it’s not too quiet. Nick suggests having your levels peak somewhere between -18 and -6dB.
6. USE A WINDSHIELD OR “DEAD CAT” OUTDOORS
Microphones are often extremely sensitive to wind. This causes rumbling and even clipping that can ruin a recording. I don’t rate the foam windshields that come supplied with most microphones at all, but the dead cat style windshields are fantastic. I particularly like Rode’s windshields and have used the one of theirs for over a decade with my Sennheiser K6/ME66 shotgun microphone when shooting outdoors.
7. DO A SYNC CLAP BEFORE EACH TAKE
This isn’t as important as it once was, with software getting so good now at matching separately recorded audio to video clips, but it’s still good practice and will make your lives easier. A clap at the beginning of each take will create a large spike in the audio waveform on each recording device, making it a doddle to manually sync up in post.
One tip mentioned in the video that I hadn’t thought of before, though, is to clap multiple times to match the take number. So, on the first take, clap once. On the second, clap twice. On the third, you get the idea.
8. RECORD WITH TWO MICS AT THE SAME TIME
This isn’t always easy, especially for those starting out with a low budget. But just like having a backup camera, having a backup audio recording means that if one mic craps out for whatever reason, you have another copy of the audio you can fall back to.
If you only have one mic, but are using a recorder that allows it, shoot the same mic to both left and right channels at different audio levels. This allows you to record one channel several dB lower than the other. That way, if your subject gets extremely loud during the recording and starts to clip on the main recording, you still have that other channel to fall back to.
9. USE EDITING TOOLS TO HELP ENHANCE YOUR SOUND
Premiere Pro and DaVinci Resolve both offer a lot of built-in tools now for processing your audio to increase the quality. Perhaps you need to remove a little preamp hiss, but often you’ll want to do at least some kind of recording to ensure the sound isn’t randomly too loud or quiet in different parts and that your subject’s voice sounds the best that it can.
10. LISTEN TO YOUR AUDIO THROUGH DIFFERENT HEADPHONES AND SPEAKERS
This is one that a lot of people miss, and is often the cause of bad audio, especially when mixing voice with ambient recordings or music. It may sound great on your one pair of headphones you used while editing, but then you upload your video to YouTube, only to be told that your audio sucks by the majority of viewers. Different headphones and speakers reproduce sound differently, and some are way better than others.
I generally use BeyerDynamic DT100 headphones to listen to my audio while it’s recording. When recording voices, particularly, they sound extremely good and give me clarity while blocking out the ambient noise around me. When I’m editing, though, I’ll listen to the “final” edit back through a couple of different sets of headphones, including some lower-end ones, different quality speakers, my TV and even my phone to ensure that the sound I want to be heard can be heard on as many different devices as possible. If it’s not clear on them all, it’s time for some tweaking.
Microphones have kicked up the level of quality a lot over the last couple of decades, and you don’t need to spend an absolute fortune today to get decent quality sound. You can still spend an absolute fortune if you want the absolute best, but by the time you get to the stage where you’re considering those, you probably won’t need to see videos like this one.
What are your favorite microphone recording tips?
Must Check Out Posts:
Erase unwanted objects and perfect your amazing photos!
Remove objects from photos with Photo Eraser is almost as easy as taking a shot. Now you can use this tool to erase undesirable objects from your pictures, such as tourists, watermarks, logos, texts, blemishes and other unwanted things without real photo-editing skills required at all.

An all-in-one WhatsApp Manager which can be used as a complete solution to backup, restore, recover and transfer WhatsApp chat history, contacts, call logs, pictures, videos, audio messages and all other WhatsApp attachments on Android & iPhone.


Comments
Post a Comment