The Quick and Dirty Way to Do Long Exposures Without a Neutral Density Filter
First off, obviously owning and using a neutral density filter rather than relying on these software tricks will always be the best option. Secondly, Harmsen's method is going to probably give you a cleaner final result, and his way is a lot more flexible in terms of shooting conditions at the cost of needing up to hundreds of photos taken and lengthy processing time in post.
My way is going to be really simple, obvious, and relies on pre-planning your image. I relied on it back when I got started writing gear reviews before I accumulated an arsenal of step up and step down rings for my filters. What's important is that you don't let gear limitations get the best of you, and instead you do the best you can with your circumstance.
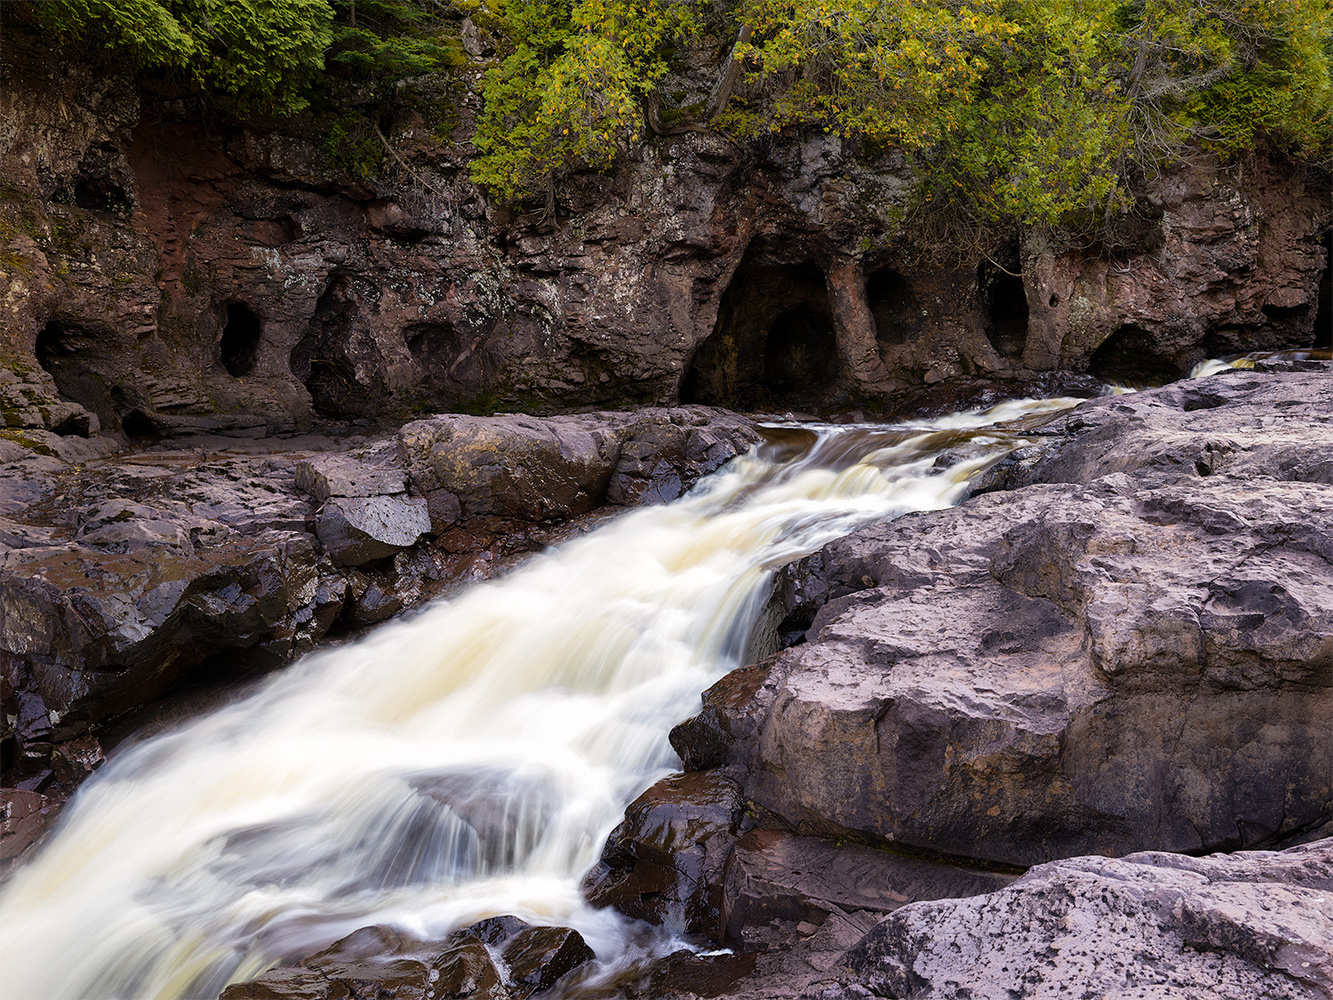
No filters were used in the making of this photo.
1. The Faster the Movement the Better
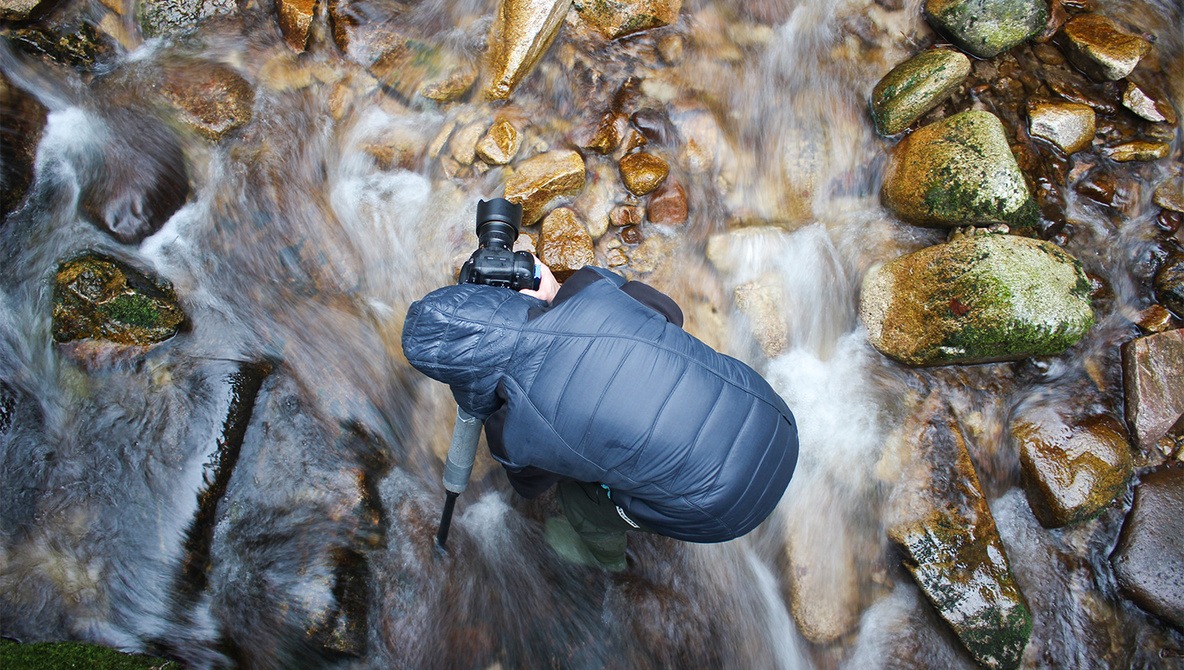
First, the scene needs to be appropriate for the method. Think streams, rivers, and waterfalls with flowing water rather than choppy lakes. The long exposure effect will always look smoother in a less amount of time the faster the movement of whatever it is you're capturing. Choppy water can take minutes to smoothen out completely, and that's when you actually have an ND filter to work with, so you'll have to manage some expectations and let it go for now.
Below I'll use flowing water as an example long exposure subject.
2. Shoot at Dawn or Dusk, Or In Shade
Now that you have a scene in your mind that could work, next is to take care of another variable you still have control over: time of day. Plan to shoot when the light levels are fairly low for the area. It doesn't have to be at the crack of dawn, but close to sunrise or sunset is going to work best. Alternatively, maybe your scene is in deep shade, such as a creek in a dense forest, and that will work just as well to manage the light levels if you set out on an overcast day.
3. Take One Photo With Optimum Settings
One thing that won't change between long exposures with a filter and without is the need for a tripod. Get your camera locked down with a composition you like and begin. You may do either step three or four first, but either way you're going to end up with a couple photos of the same exact framing.
The optimum photo is the one that is going to be used for everything that isn't the flowing water. For camera settings, use the aperture your lens is sharpest at, usually f/8, set the ISO to its base for maximum dynamic range and the least amount of noise, and lastly set the shutter speed to give you the right exposure with the already set aperture and ISO.
In short, take a normal picture. If it's windy and you want to freeze the leaves of a tree too, feel free to up the ISO a little to quicken the shutter speed. We aren't paying attention to the water or long exposure effect at all here.
4. Take One Photo Stopped All the Way Down
Whether you do step three or four first, use light fingers on the camera dials to change your settings between shots as to not shift the framing at all. Also do not adjust focus to avoid the lens' focus breathing unless you are comfortable with your editor's auto-align tool.
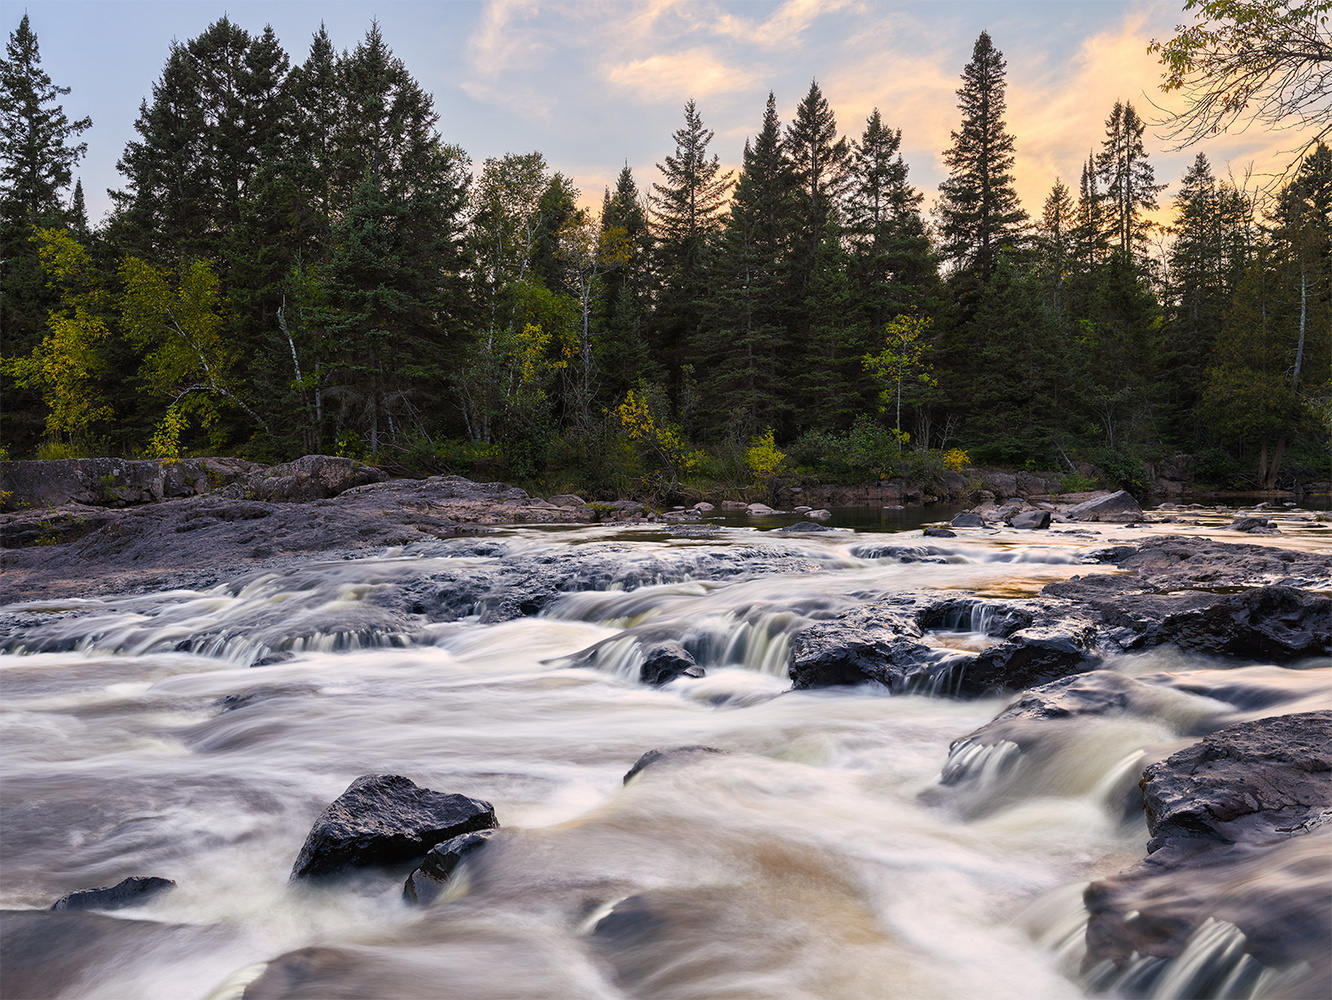
This photo is solely going to be used for the flowing water. What that means is you can go wild with the aperture because soft water does not care about diffraction. It also means that if your camera has an "extended" ISO range, use it because the loss of dynamic range won't matter either. So, set your aperture at the highest f-stop number possible, then set your ISO at the lowest "extended" number possible (for example, base ISO might be 100, but some cameras can then do ISO 50 as an "extended" option if enabled in the menu). Finally, slow the shutter speed down to get an overexposed photo. You want to get to the point where highlights in the water are getting blown out, and then back off slightly (remember, only care about the long exposure areas for this photo) so it doesn't actually clip.
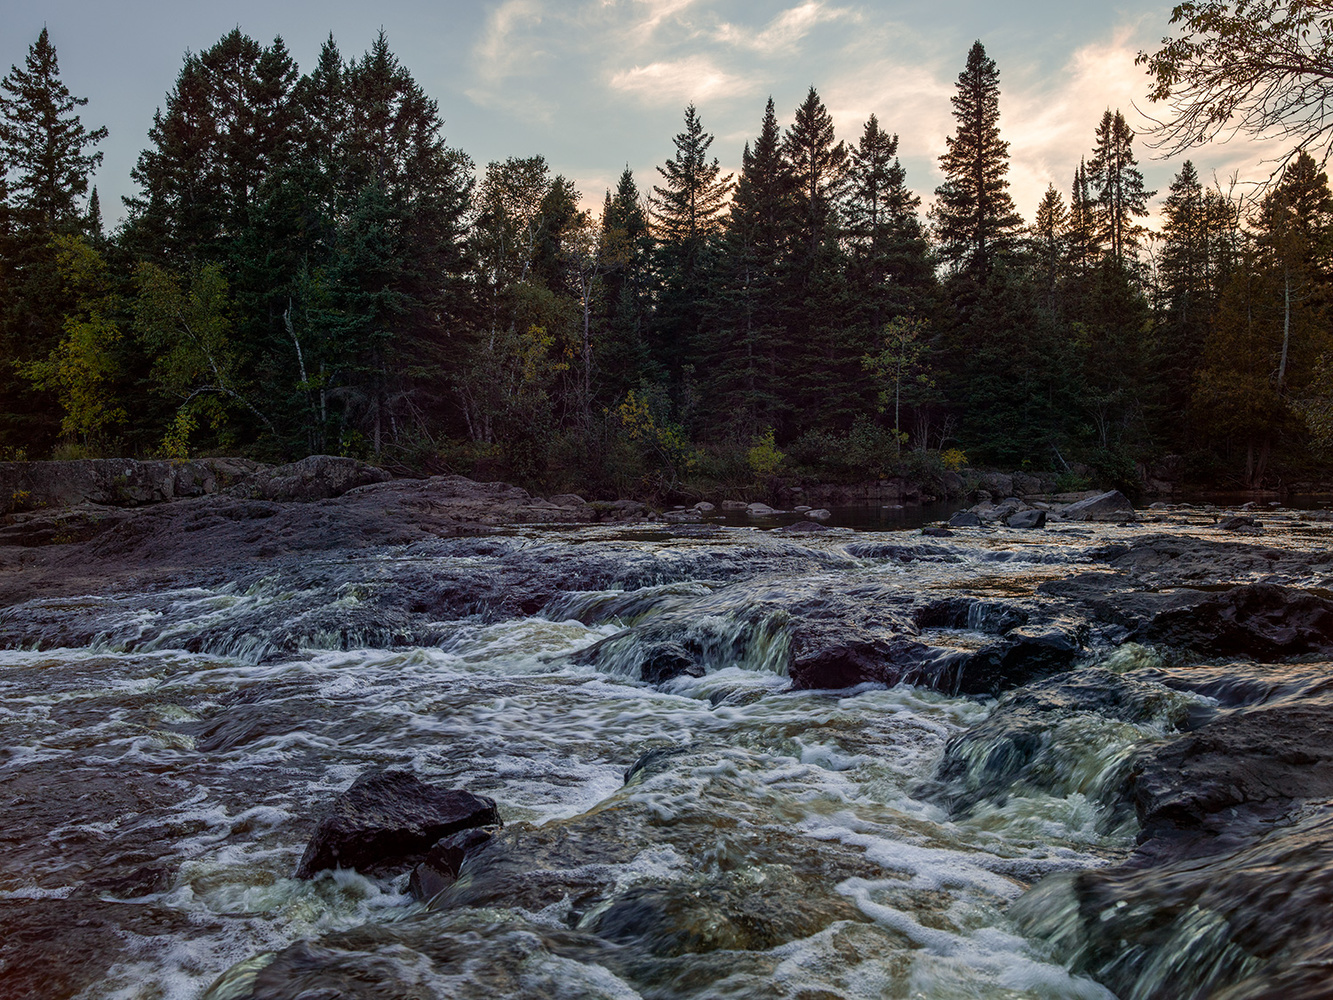
What the water looked like at 1/60 sec. shutter speed.
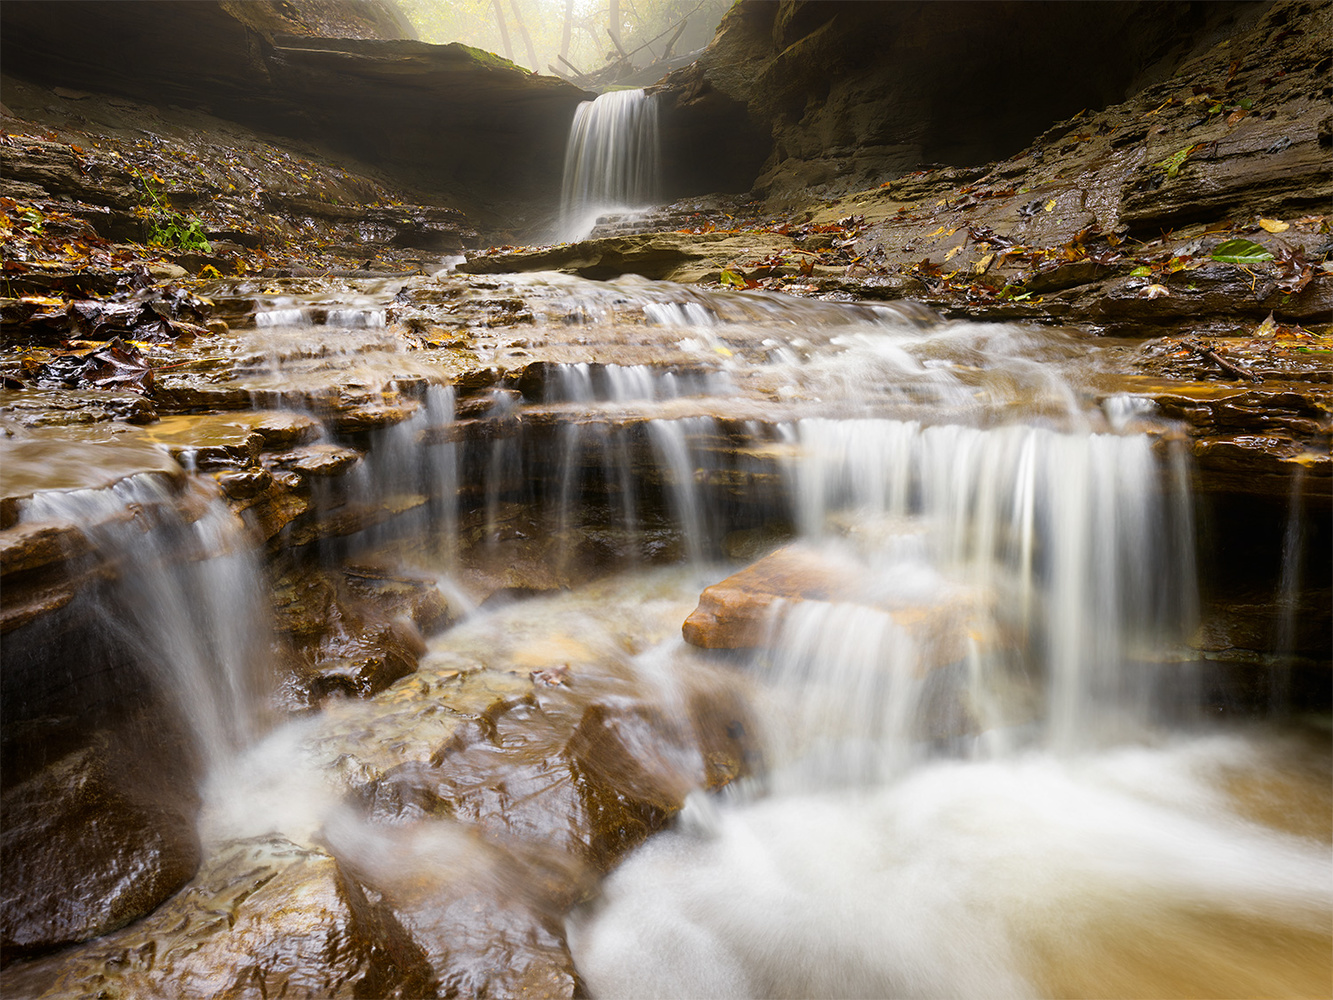
The final edited image with a longer exposure for the water, and regular exposures for the rest (this particular photo also involved a third exposure for the sky).
5. Blend the Images Together
For me I use Photoshop, but any editor that can stack two photos on independent layers and do layer masking will work (Affinity Photo, ON1 Photo RAW, Pixelmator, etc.). All this step requires is that the two resulting photos from the steps above are blended together to get the best from both combined. The photo from step three will have sharp detail and high quality from everything stationary, and the photo from step four will hopefully have as much long exposure effect as possible given the circumstances. I prefer having the sharp photo layer on top of the long exposure photo layer, that way I simply brush in on the mask where I want softness.
TL;DR: Be in a low light environment. Take one photo at optimum camera settings for non-moving objects, and one photo stopped down completely for long(er) exposure. Blend these two together in post.
No filters were used in the making of this photo.
Any time you feel like you lack the right gear, or that you're being held back by not owning enough stuff, take a step back and do three things: acknowledge your limitations so that you know where the practical boundaries are, see what variables you can still control to push those boundaries to the maximum potential, and soak in any lessons that come your way while out shooting. That last bit is important, because instead of moping around thinking you can't get good pictures without Gear X, you are out there shooting anyways and gaining knowledge that's only picked up while going through to motions of practicing photography.
Must Check Out Posts:
Erase unwanted objects and perfect your amazing photos!
Remove objects from photos with Photo Eraser is almost as easy as taking a shot. Now you can use this tool to erase undesirable objects from your pictures, such as tourists, watermarks, logos, texts, blemishes and other unwanted things without real photo-editing skills required at all.

The most powerful and professional data recovery software for Android that can restore deleted or lost contacts, photos, videos, audios, SMS, call logs, WhatsApp chat, Viber messages from any Android devices due to accidental deletion, virus attack, formatting. It supports all popular Android smartphones and tablets like Samsung, HTC, LG, Huawei, Motorola, Nexus, etc. In the meantime, you will be guided step by step if you never used this kind of tool before.


Comments
Post a Comment