How the Lightroom App Will Amplify Your Phone Photography
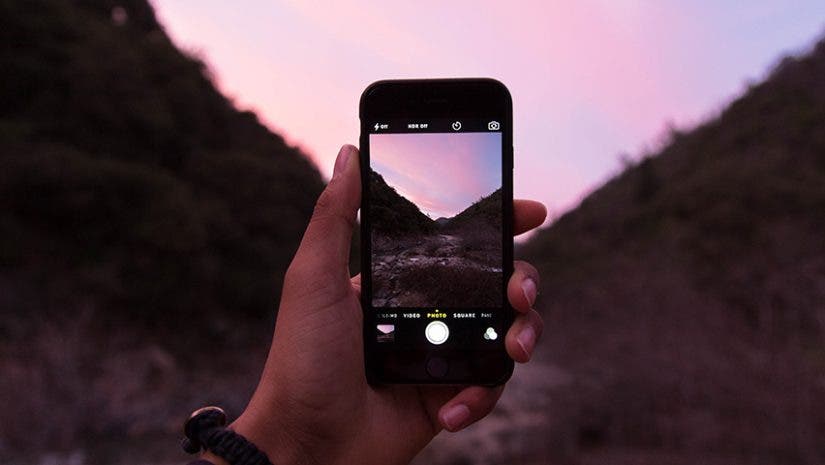
There I was, juggling two weeks’ worth of luggage while navigating Paris’ Rue de la Cité when an unfamiliar warmth hit my face.
“What the…?” I thought before realizing that after two winter weeks traveling through Europe sans sun, it finally returned — and it returned in style. The bright sun was quickly rising behind the Notre Dame Cathedral. I had to make a decision.
I could fumble for my Sony through an almost vacuum-sealed camera backpack (the joys of carry-on only travel), or I could grab my phone from my pocket, take a few photos, and actually enjoy the moment.

I chose option two, and it was a surprisingly easy choice because of the Adobe Lightroom CC app. I know phones are increasingly emulating cameras, but I’ve never felt comfortable relying on my iPhone for key photos. I find important features are always lacking — think actual depth of field (vs. portrait mode), for example — but the Lightroom app really changes the mobile photography game. Here are five ways I’ve been able to get the most out of the free app:
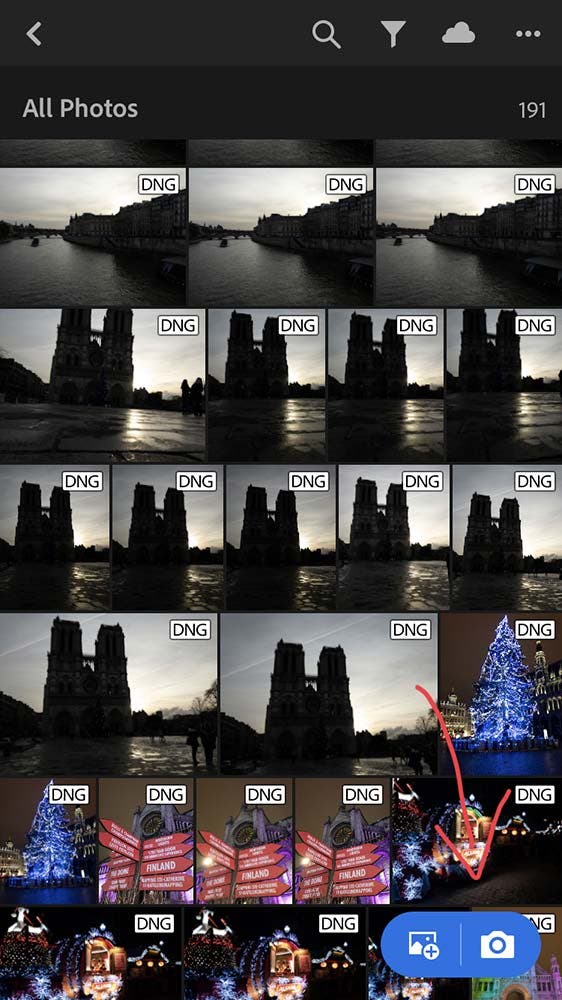
1. Shoot RAW with the app’s native camera
Sure, other apps can shoot RAW, but as a premiere photo editing platform, Lightroom has by far the best results. Using Lightroom’s built-in camera will give you more flexibility when editing (within the app), as it stores significantly more data than a regular shot.
To use the Lightroom camera, click the camera icon on the bottom right corner of the main screen. (Note, your Lightroom-native photos will not show up in your iPhone camera roll. They live in the app until you export them.)
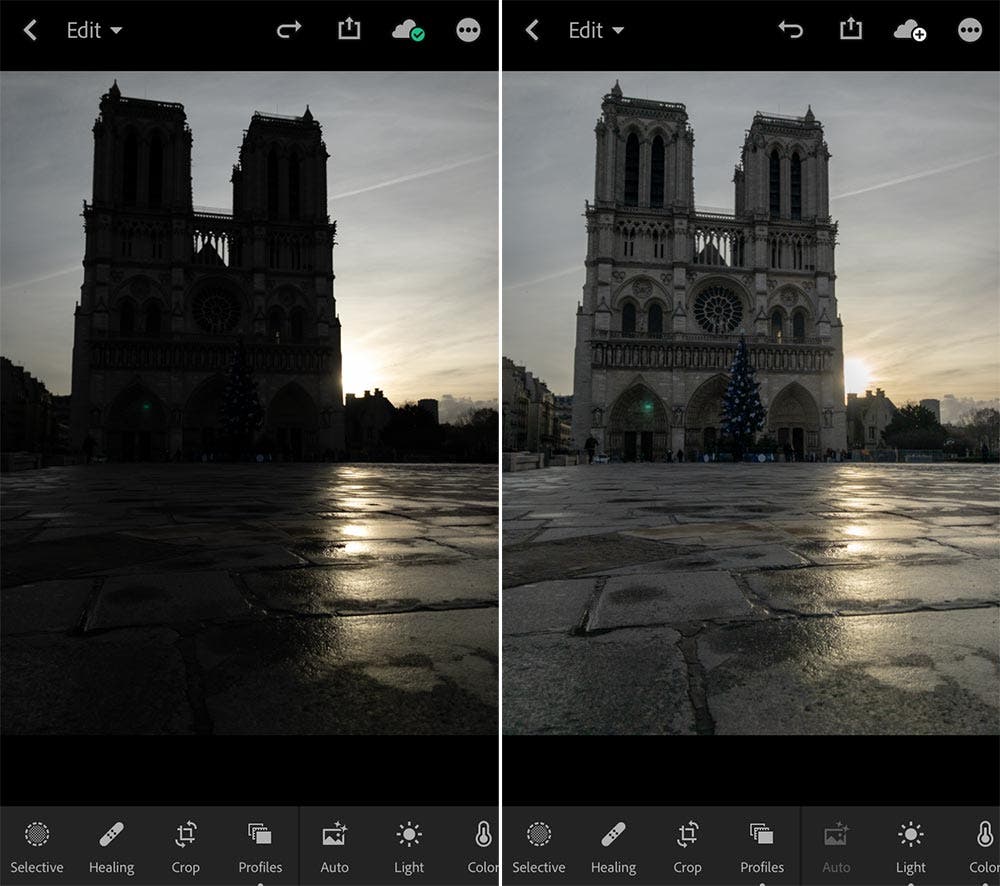
2. Use the auto edit first
While not 100 percent reliable, Lightroom’s auto-edit function can often save you steps. I rarely see the auto-edit and call it finished, but if you need a quick fix — or you’re stuck on what to do — this tool can speed up the process. Here’s an example of one of my Notre Dame sunrise photos before and after auto-edit. I still have steps to go, but I love the quick progress.
3. Use your favorite Lightroom features
From here, the mobile app is virtually identical to the desktop platform. I won’t go into a full-on Lightroom tutorial, but a few of my favorite functions are lighting (including white and black sliders), color mix (where you can accentuate one specific color), and selective masks (which I use to help one piece of my photo pop).
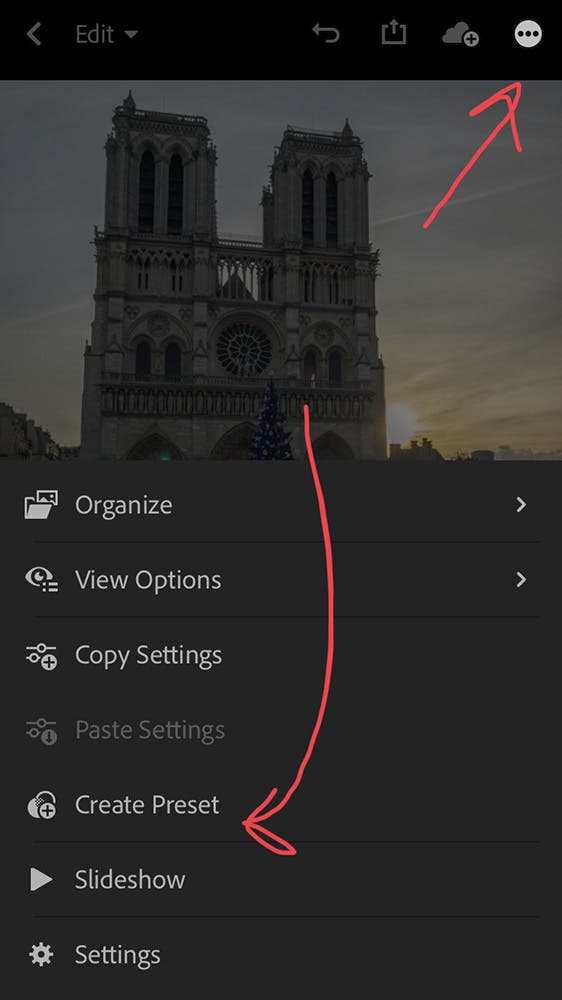
4. Buy or create mobile presets
Just like Lightroom’s popular desktop presets, you can build or buy your own presets on the mobile app. Photographers like Kiersten Rich of The Blonde Abroad sell mobile-specific Lightroom presets. Or, if you prefer to stick with your own style, you can create your own preset after editing a shot to your liking. Just click the three dot icon on the top right and select “create preset.”
5. Sync your mobile and desktop photos.
If you’re constantly sharing photos from different trips or events, it gets pretty cumbersome trying to navigate between two or three devices. That’s why cross-platform syncing is one of my favorite features. To begin, open your desktop software and go to your name on the top left; click the “sync with Lightroom mobile” option and select the collections you’d like to access on mobile.
If you’re signed into your Adobe account (which you have to be for this feature to work), your mobile Lightroom photos will also auto sync with your desktop. From here, any edits made to synced photos will apply automatically. How seamless is that? Note, this service requires a Creative Cloud membership (as does Lightroom desktop).
The Lightroom app perks extend far beyond one blog post — think photo organization and keyword tagging — but this guide will definitely get you started. If you do want to learn more about the software, head to our beginners guide to Lightroom on Adorama TV.
Must Check Out Posts:
Erase unwanted objects and perfect your amazing photos!
Remove objects from photos with Photo Eraser is almost as easy as taking a shot. Now you can use this tool to erase undesirable objects from your pictures, such as tourists, watermarks, logos, texts, blemishes and other unwanted things without real photo-editing skills required at all.

The most powerful and professional data recovery software for Android that can restore deleted or lost contacts, photos, videos, audios, SMS, call logs, WhatsApp chat, Viber messages from any Android devices due to accidental deletion, virus attack, formatting. It supports all popular Android smartphones and tablets like Samsung, HTC, LG, Huawei, Motorola, Nexus, etc. In the meantime, you will be guided step by step if you never used this kind of tool before.


Comments
Post a Comment