Five Tips to Make Your Smartphone Pictures Stand Out

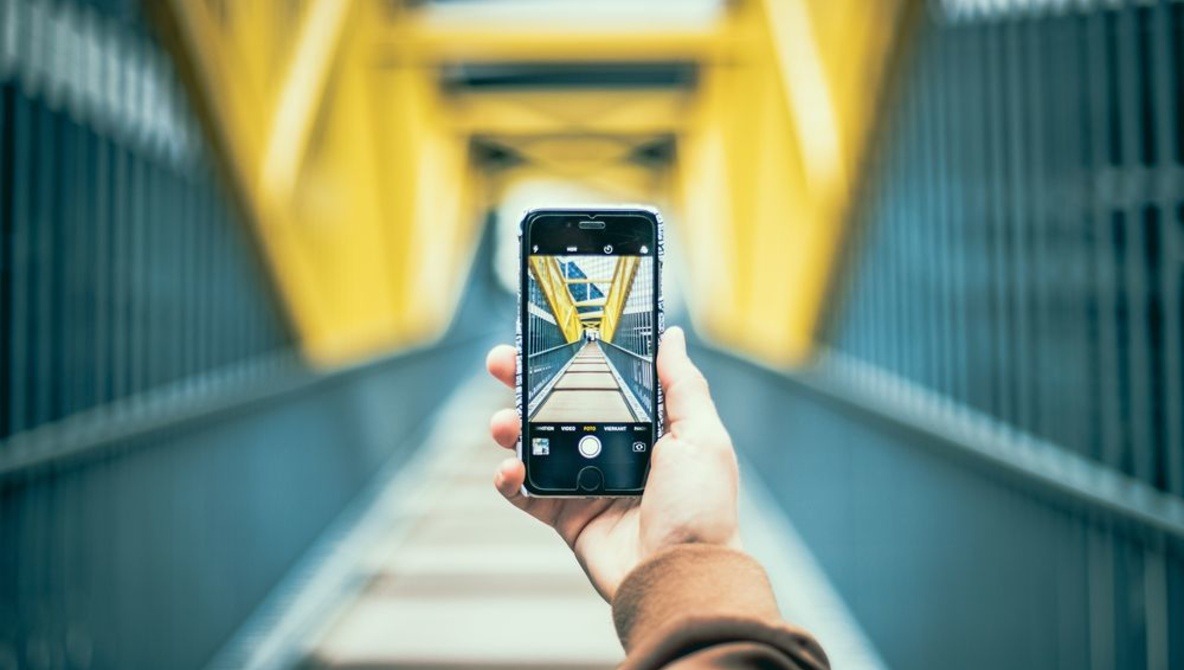
Whether you prefer using a state-of-the art digital SLR, a compact point-and-shoot camera, or the smartphone in your pocket, submit your UCalgary-themed photos to the Show Us Your Campus contest before April 26. Photo by Luis Quintero from Pexels
Just about everyone has a high-resolution camera built right into their phone, but not everyone knows how to use it to make great photography. Try out these five smartphone photography tips and take some pics on, of, or from any location to make your smartphone pictures stand out.
1. Take control of the focus point and exposure
Two fatally flawed factors are often to blame for not-so-hot shots — exposure and focus. To help make pics sharp and bright, most phones make it easy to change the focal point and exposure of a photo as you’re taking it.
If your phone has a manual focus feature, it's probably activated by tapping the screen on the spot where you want the camera to focus.
To adjust the brightness, tap once on the screen, then hold and drag to let in more or less light.
2. Turn on the grid and follow the rule of thirds
The rule of thirds predates digital photography by a couple hundred years, but it’s still your best bet for composing a pleasing image. The rule says that an image should be split into nine equal parts to form a three-by-three grid. The aim is to place your subject or subjects along the horizontal or vertical gridlines or — even better — where the gridlines intersect.
Experienced photographers can visualize the gridlines on their own, but if you’re having trouble, turn on the grid so it’s visible when you compose your next shot — just pop into your IOS camera settings or look for the grid icon at the edge of your Android’s camera screen.
3. Resist the urge to zoom in
When you take a photo from a distance, you may be tempted to pinch and zoom to make your subject seem closer, but zooming in depletes resolution and can make for a grainy or pixelated image.
To frame the perfect shot and preserve your pixels, just walk closer to your subject. If that’s not an option, it’s best to shoot first and crop later — having a larger original image will leave you with more editing options.
4. Clean the lens
Smartphones don’t have lens caps and we tend to carry them in pockets and bags alongside crumbs, lint and dust that can collect on the lens. Use a soft cloth to wipe the camera lens before you take a photo to ensure your photo is crystal clear and avoid time-consuming photo editing later.
5. Snap your pics with the volume button
Ditch the button on the screen — instead, try using the volume control as the shutter release. When you don’t need to reposition your grip to reach the standard shutter button, you can keep a steadier hand and avoid motion blur. Plus, it makes it easier to shoot landscape-orientation photos, which are usually better for web applications.
Related Links
How to Schedule WhatsApp Messages on Android and iPhone
How to Convert Picture to Watercolor Painting on Android?
Erase unwanted objects and perfect your amazing photos!
Remove objects from photos with Photo Eraser is almost as easy as taking a shot. Now you can use this tool to erase undesirable objects from your pictures, such as tourists, watermarks, logos, texts, blemishes and other unwanted things without real photo-editing skills required at all.
The most powerful and professional data recovery software for Android that can restore deleted or lost contacts, photos, videos, audios, SMS, call logs, WhatsApp chat, Viber messages from any Android devices due to accidental deletion, virus attack, formatting. It supports all popular Android smartphones and tablets like Samsung, HTC, LG, Huawei, Motorola, Nexus, etc. In the meantime, you will be guided step by step if you never used this kind of tool before.
Comments
Post a Comment