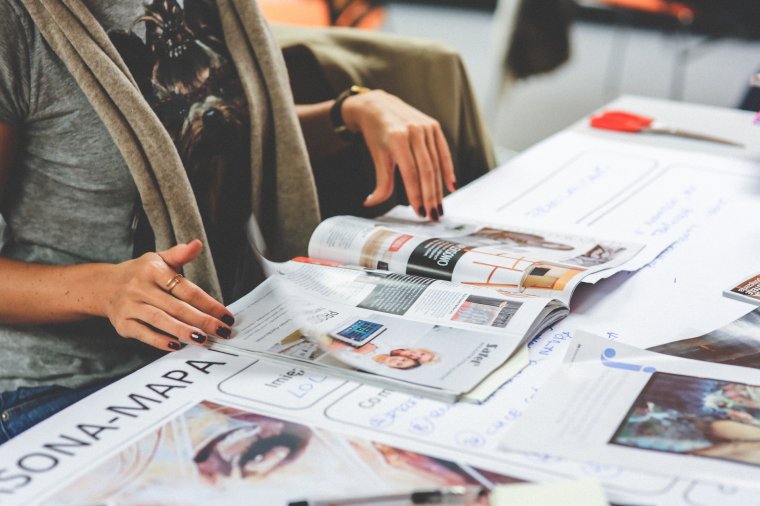
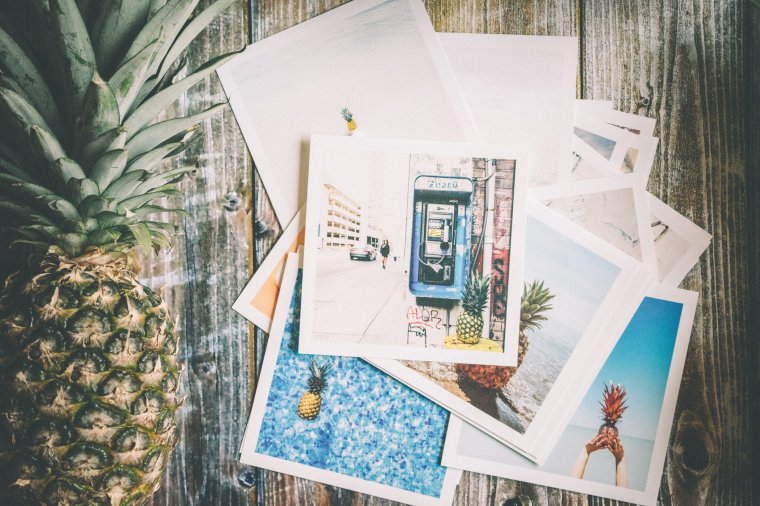
Useful Tips For Printing Photographs at their Best Quality

One of the most rewarding feelings a photographer could have is when we finally see our work printed. In a day and age where everything is so digital, you really find viewers or individuals appreciating prints as much as they should. Printing your photography is very important to be done at some point during your career as a photographer. Not only does it make you a better photographer but it also makes you a better editor as well. Printing your work helps to show the details that were overlooked during post-production and will motivate you to pay more attention to finer things. It also makes you a better photographer as well. I’ve noticed since my first time printing my images for an exhibition that I changed my style of shooting a bit in regards to my composition and the way I focus on my subject. However, in this article, we will not be talking about the benefits of printing your work but rather useful tips for printing some of your images. These tips should come in handy before you print your images.
1. Understanding Pixels
One of the key things to having a good print is making sure your pixels are correct. This is what helps to separate a good print from a bad print. The more pixels available in your image is the better the quality of the print and the more you have the potential to make a bigger print without losing quality or having your image look pixelated. Before you head to your local print shop or print your images at home.
Try to be mindful of the pixels in your image before choosing a print size. If the print size does not match up to the pixels in your image then you will end up with a distorted, blurred or pixelated print which would be a waste of ink or money. If you’re not sure if your pixels match up to the print size you want then don’t be scared to ask a few questions or do some research to make sure you have the correct size for your pixel count. The first time I printed my images, I was completely lost in this regard and just wanted to see my work actually printed. Regardless of being happy that I actually got to saw prints of my work, I was also bothered by the look of my images as some of them looked very pixelated.
2. Choosing The Right Paper
The paper you choose to put your images on can also play a huge part in the result of your prints itself. You want to make sure you’ve tested and seen each option of printing paper before making your choice. This paper can either help to enhance your images or make them look less amazing than what they are. I have personally never experienced this but I can say I have seen other photographers make this mistake and immediately regret the choice they made so be careful. When it comes to printing images, there are three major types of paper that can be used. The first of the three is called Luster Paper. This paper is popular among many photographers when it comes to printing their work. It generally offers a very vibrant glossy look with color and has a texture that is useful in hiding things like minor scratches or scuffs. The type of paper is popular amongst photographers because it doesn’t give off much of glare or shine and is helpful when looking at the print from different angles.
The second type of printing paper is the Glossy paper. This type of paper is popular as well but not used too commonly by photographers. It lives up to its name and can be very shiny and give off a glare when you look at it. However, it does provide a fancy look with a very high quality feel to it. In regards to the print itself, it helps your print to appear much brighter and helps to enhance colors as well. Lastly is the Metallic Paper. This paper is probably one of my personal favorites to print my work as it is very cost effective along with its capability of helping to make my work pop just a bit more and making it unique in its own way.
Always take into consideration the type of paper you’re using for your prints first and how you’d like your print to look. The paper you choose can help to make or break your image itself so always be mindful of the characteristics of each.
3. Correct Your Monitor Settings
Calibrating your monitor to the right settings is very important when you’re interested in printing your Images. The colors seen on your screen can easily look different when printed on any of the papers mentioned above so you might want to make sure you have the right settings before you go ahead with exporting your selection of images to be printed.
I hope these tips have been useful in making sure you get some pretty amazing prints when you do decide to do so. It’s always a pleasure sharing some of these simple tips with you and I look forward to seeing you again very soon.
Must Check Out Posts:
How to Schedule WhatsApp Messages on Android and iPhone
Erase unwanted objects and perfect your amazing photos!
Remove objects from photos with Photo Eraser is almost as easy as taking a shot. Now you can use this tool to erase undesirable objects from your pictures, such as tourists, watermarks, logos, texts, blemishes and other unwanted things without real photo-editing skills required at all.

The most powerful and professional data recovery software for Android that can restore deleted or lost contacts, photos, videos, audios, SMS, call logs, WhatsApp chat, Viber messages from any Android devices due to accidental deletion, virus attack, formatting. It supports all popular Android smartphones and tablets like Samsung, HTC, LG, Huawei, Motorola, Nexus, etc. In the meantime, you will be guided step by step if you never used this kind of tool before.


Comments
Post a Comment